- Identify the Type of Leak: Pressure, suction, or structural leaks behave differently; understanding the type helps narrow down where to look and how to fix it.
- Monitor Water Levels: Conduct regular water-level checks and use the 24-hour test to detect unusual water loss patterns.
- Inspect Common Leak Points: Focus on return lines, skimmers, drains, pool shell, liner, steps, lights, and fittings for cracks, holes, or worn seals.
- Use Precise Detection Methods: Dye testing, plugging lines, and pressure tests are effective ways to locate hidden or small leaks.
- Maintain Equipment and Components: Regularly clean filters, inspect pumps, replace aging parts, and upgrade vulnerable plumbing and fittings to prevent leaks.
- Seal Minor Issues Early: Use pool-grade epoxy or sealants on small cracks, fittings, and light housings to stop leaks before they worsen.
- Know When to Call a Professional: Seek expert help for underground plumbing, structural damage, persistent water loss, or hard-to-access leaks.
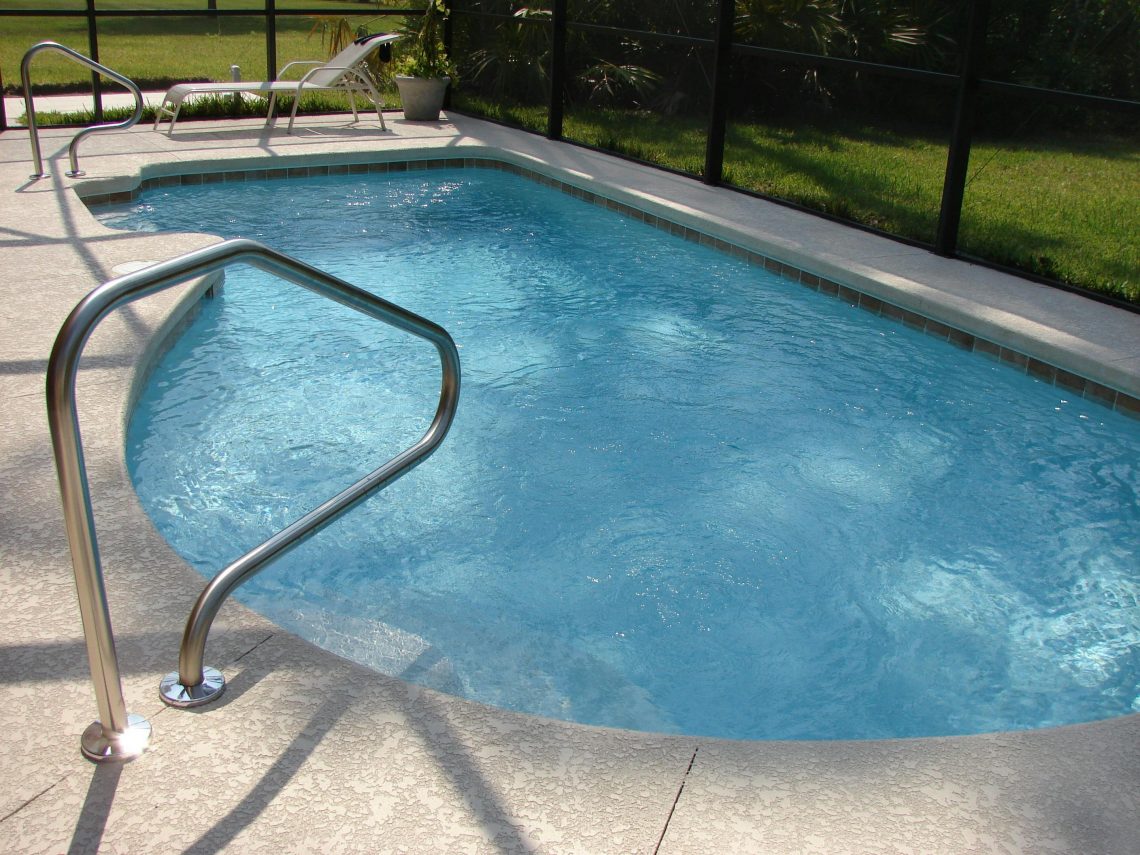
Having a pool in your backyard is a great way to enjoy warm days and entertain guests. But nothing is more frustrating than discovering your pool is losing water. Beyond the inconvenience, leaks can cause damage to your pool’s structure, plumbing, and surrounding landscaping. Learning how to find a leak in a pool and prevent future water loss is essential for maintaining a healthy, functional pool.
Why Pools Lose Water
Pools can lose water for several reasons, and understanding the difference between normal water loss and a leak is crucial.
Evaporation:
One of the most common causes of water loss is evaporation. Hot weather, strong winds, and low humidity can make a pool lose significant water—sometimes up to an inch per week. Pools in sunny, dry climates are especially prone to evaporation, so noticing a slight weekly drop is often normal. Using a pool cover can greatly reduce evaporation and help maintain consistent water levels.
Splash-Out:
Pool activities can also contribute to water loss. Frequent swimming, diving, or children playing and splashing water out of the pool can add up over time. This type of water loss is seasonal and usually spikes during warm months or holidays when the pool sees more use.
Maintenance Activities:
Regular pool maintenance, including backwashing the filter, vacuuming, or cleaning skimmers, temporarily reduces water levels. While necessary, these activities can sometimes mask a small leak if they coincide with natural water loss.
Leaks:
True leaks are water escaping from the pool’s structure, plumbing, or equipment. Unlike evaporation or splash-out, leaks cause consistent or unusual drops in water levels that don’t correlate with usage or weather. Common signs include puddles around the pool deck, wet spots in the yard, or unusually high water bills.
If you notice water loss beyond normal evaporation and splash-out, it’s likely that a leak is present. Identifying and repairing it early can save money and prevent further damage.
Understanding the Types of Pool Leaks
Not all leaks are created equal. Recognizing the type of leak helps narrow down the search and determine the repair approach. There are three primary categories:
Pressure Leaks:
These leaks occur in the return lines that carry water back into the pool after filtration. Pressure leaks typically appear when the pool pump is running because the pressurized water finds its way through cracks or loose fittings. If more water is lost while the pump is on, the issue is likely a pressure leak.
Suction Leaks:
These occur on the suction side of the system, usually in the skimmer or main drain lines. Water loss is often greater when the pump is off because air can enter the system and reduce water levels. Detecting suction leaks often requires inspecting skimmers, drain lines, and plumbing connections.
Structural Leaks:
Structural leaks involve the pool itself, including the liner, shell, steps, lights, or fittings. These leaks result in consistent water loss, whether the pump is on or off. Common structural issues include cracks in concrete or fiberglass pools, punctures in vinyl liners, and leaks around pool lights or fittings.
Identifying the type of leak is the first step in a systematic troubleshooting process. It helps pool owners know where to focus their attention and whether professional assistance may be required.
Step-by-Step Guide: How to Find a Leak in a Pool
Finding a leak requires patience and a methodical approach. Here’s a detailed guide:
Step 1: Rule Out Simple Causes
Before diving into leak detection, ensure the water loss isn’t caused by normal factors.
- Turn off automatic water additions and refrain from backwashing.
- Avoid heavy pool use during the inspection period.
- Monitor weather conditions, as hot, dry, or windy days can increase evaporation.
This step helps prevent false alarms and focuses your efforts on real leaks.
Step 2: Conduct the 24-Hour Water Test
The 24-hour water test helps determine the type of leak by comparing water loss with the pump on and off.
- Mark the current water level with a pencil, tape, or marker.
- Run the pool pump continuously for 24 hours, then mark the new water level.
- Turn off the pump for another 24 hours and mark the water level again.
- Pressure Leak: More water is lost while the pump is running.
- Suction Leak: More water is lost when the pump is off.
- Structural Leak: Water loss is consistent in both conditions.
This simple method provides valuable insights into where the leak might be located.
Step 3: Inspect Common Leak Locations
Knowing the most common areas for leaks can save time and frustration:
- Return Lines (Pressure Leaks): Examine all return jets and plumbing connections for cracks, corrosion, or loose fittings.
- Skimmer and Drain Lines (Suction Leaks): Inspect skimmers, baskets, and drain connections. Consider that main drain leaks may require diving or professional tools.
- Pool Structure (Structural Leaks): Look for cracks, holes, or blisters in the liner or shell, as well as around steps, lights, and fittings. Even small imperfections can allow water to escape.
Step 4: Pressure Leak Detection
To check for pressure leaks:
- Turn off the pool system.
- Remove the eyeball fittings from return jets.
- Seal the lines with threaded plugs and mark the water level.
- Wait 24 hours.
If the water holds steady, the leak is within the return plumbing. Professional assistance may be needed to locate and repair underground or complex leaks.
Step 5: Suction Leak Detection
For potential suction leaks:
- Turn off the pool system.
- Plug the skimmer(s) by removing the basket and sealing the bottom.
- Mark the water level and monitor for 24 hours.
- If water holds, the leak is in the skimmer line.
- If water continues to drop, check the main drain by sealing it and monitoring again. Main drain leaks can be costly, and some owners opt to leave the line sealed.
Step 6: Structural Leak Detection
Structural leaks involve the pool shell, liner, or fittings:
- Inspect the liner or shell for cracks, holes, or blisters.
- Examine pool lights, skimmers, and drains. Water will often settle to the point of the leak, making identification easier.
- Underwater putty may temporarily patch light leaks, but a dry-set sealant offers a more permanent solution.
- Check hydrostatic relief valves at the bottom of drains in concrete or fiberglass pools as a potential source of leaks.
Step 7: Use Dye Testing for Precision
Dye testing is effective for pinpointing small or hidden leaks:
- Turn off water circulation to reduce movement.
- Slowly release pool dye near suspected leak areas.
- Observe where the dye flows into cracks, seams, or fittings.
This method provides visual confirmation and ensures accurate repairs.
Tools That Make Leak Detection Easier
Using the right tools simplifies detection:
- Bucket for water-level testing
- Pool dye or food coloring for leak tracing
- Threaded plugs to seal return and suction lines
- Flashlight for underwater inspections
- Pressure testing kits for plumbing lines
- Leak detection equipment for buried or hard-to-reach leaks
Systematic use of these tools saves time and reduces frustration.
How to Prevent Future Pool Leaks

Once a pool leak has been repaired, taking proactive steps to prevent future leaks is essential. Regular maintenance and vigilance can save you from costly repairs and preserve your pool’s integrity for years to come.
Routine Inspections:
- Conduct a thorough visual inspection of your pool at least once a month. Look for cracks, bulges, blisters, or discoloration in the liner or pool shell.
- Check around fittings, lights, skimmers, and drains for signs of moisture, corrosion, or wear.
- Monitor water levels closely; even minor drops can signal early-stage leaks that are easier and cheaper to fix.
- Make a habit of inspecting after storms or periods of heavy pool use, as these conditions can stress the pool structure and plumbing.
Maintain Equipment:
- Clean filters regularly to prevent clogs and excessive pressure on plumbing lines.
- Inspect pumps, heaters, and chlorinators for leaks or unusual noises.
- Lubricate moving parts and replace worn seals, O-rings, and gaskets.
- Ensure valves operate smoothly and don’t allow water to bypass the intended flow path.
Upgrade Components:
- Replace aging liners, pipes, and valves before they fail. Materials deteriorate over time, and preemptive replacement can prevent unexpected leaks.
- Consider upgrading to higher-quality, durable plumbing materials for long-term reliability.
- Modern pool lights and fittings often have improved sealing systems that reduce the risk of water intrusion.
Monitor Water Levels:
- Track your pool’s water level weekly and compare it to previous readings.
- Address small drops immediately; ignoring them may allow minor issues to develop into major structural or plumbing problems.
- Use a water-level indicator or automated monitoring system if available, particularly for larger pools, to catch subtle changes early.
Seal Small Cracks:
- Use pool-grade epoxy or specialized sealants to fill minor cracks in concrete, plaster, or fiberglass pools.
- Inspect seals around fittings, lights, and hydrostatic relief valves, and reapply sealant as necessary.
- Preventative sealing can stop small leaks from worsening and reduce water loss over time.
Proper Winterization:
- In colder climates, winterize your pool to prevent freeze-related damage. Drain water from skimmers, pumps, and pipes as recommended by the manufacturer.
- Add antifreeze to plumbing lines if necessary and cover the pool securely.
- Proper winterization prevents structural cracks caused by ice expansion, which are a common source of leaks in spring.
Consistent Attention:
- Regular care, monitoring, and timely repairs are the most effective strategies for preventing future leaks.
- By combining inspections, equipment maintenance, and preventive sealing, you can significantly reduce the likelihood of water loss and protect your investment in your pool.
When to Call a Professional
Professional help is recommended when:
- The leak is underground or difficult to access.
- Water loss persists despite thorough DIY inspections.
- Structural damage is present in concrete, fiberglass, or vinyl pools.
- Leaks involve lights or hydrostatic valves.
Experts have specialized tools and experience to locate and repair hard-to-find leaks effectively.
Signs of Hidden Leaks
Some leaks aren’t immediately visible. Watch for subtle signs:
- Constant running of the pool pump
- Soggy areas around the pool deck or yard
- Unexplained mold or algae growth
- Water loss beyond normal evaporation levels
Early detection prevents major repairs and preserves the pool’s structural integrity.
Closing Thoughts
Knowing how to find a leak in a pool and prevent future water loss is essential for every pool owner. By understanding the types of leaks, conducting careful inspections, using dye and pressure tests, and maintaining your pool regularly, you can minimize water loss and avoid costly repairs. Routine checks and proactive maintenance ensure your pool remains full, safe, and enjoyable year-round.